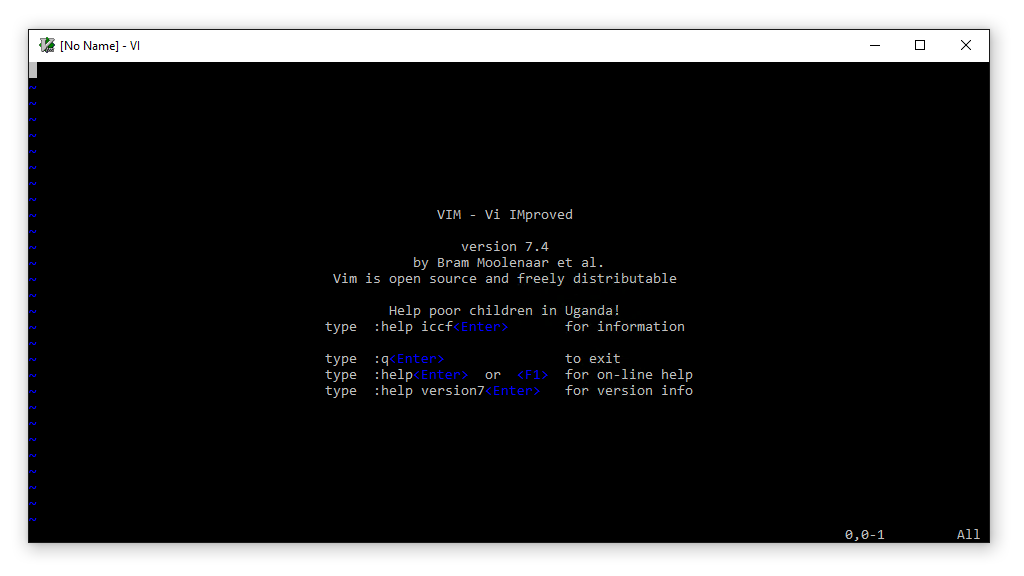
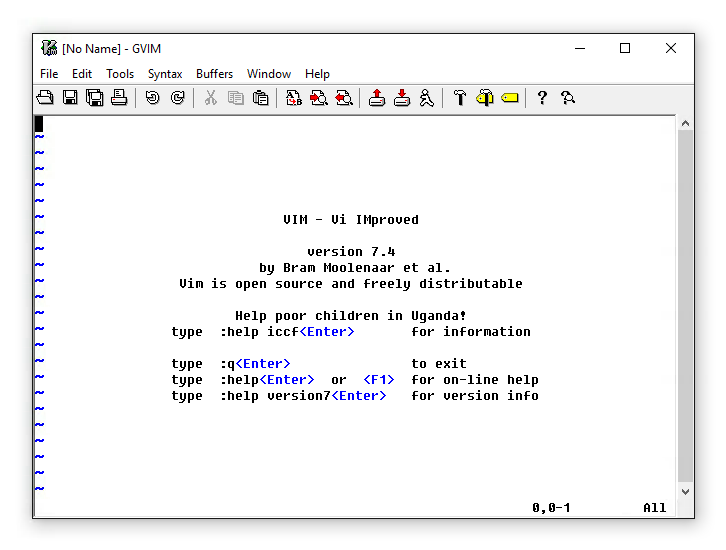
 As strange as it may seem, I have really come to like and use unix based tools in my day to day tasks. It kills me that there are not certain native CLI based apps in Windows. It would be impossible to list the number of times I have tried to ls instead of dir. Thus this little series of *nix of Windows. While I am a firm believer no matter what OS for production server rolls on the minimal software needed should be installed, on my workstation I see no harm in addition tools to help me exceed at my tasks. 5 years ago if you asked me how to do anything in Vi/Vim I would have been at a loss, :wq to write a file and quit? I would have never guessed. Today it frustrates me that I have to open Notepad to edit a hosts file on Windows. So here in my first *unix on Windows entry. How to add Vi/Vim on Windows.
Installing Vim
 Installing Vim is relatively straight forward for Windows these days. Simply download the latest full version installer (7.4 at the time of writing this) from: http://www.vim.org/download.php#pc. Choosing the “Vim console program” (selected by default in later releases) if you want to add the traditional CLI instance in addition to the GUI (gvim.exe) option.
Setting paths
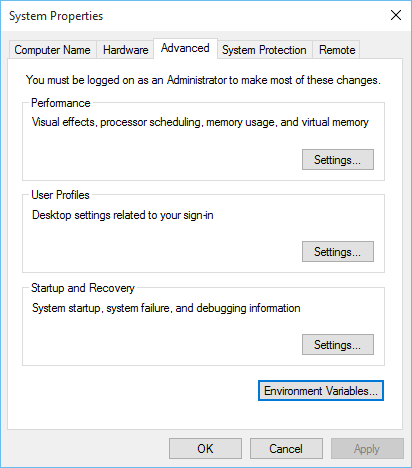
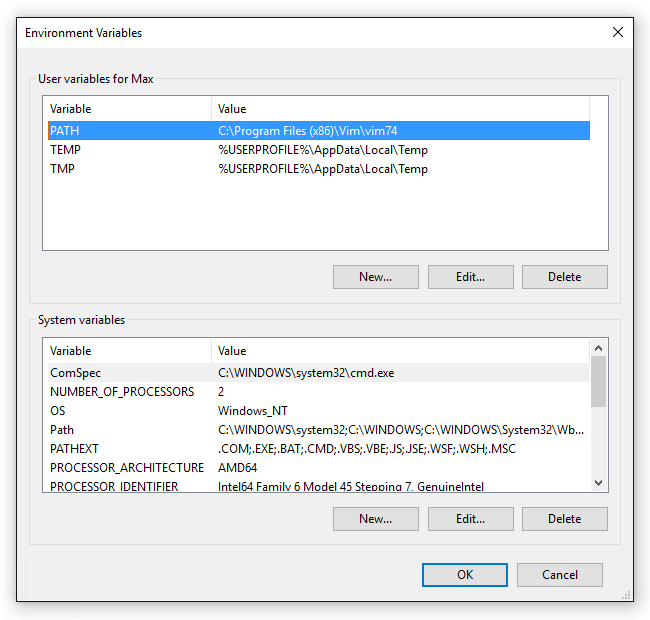
In an effort to use Vim as seamlessly on Windows as on most *nix OS types you will need to set a PATH variable. This is completed by going to the System Properties, the Advanced tab and selecting Environment Variables in the bottom right.
Adding a user variable of PATH with a value of C:\Program Files (x86)\Vim\vim74 (assuming default paths). If the PATH variable already exists you can edit and add ; then the path.
Creating a symbolic link
I am used to invoking Vim on *NIX platforms by using vi over vim. To add this ability to windows simply create a symbolic link:
C:\Program Files (x86)\Vim\vim74>mklink vi.exe "C:\Program Files (x86)\Vim\vim74\vim.exe"
symbolic link created for vi.exe <<===>> C:\Program Files (x86)\Vim\vim74\vim.exe


